 Add Row
  Add
Add 


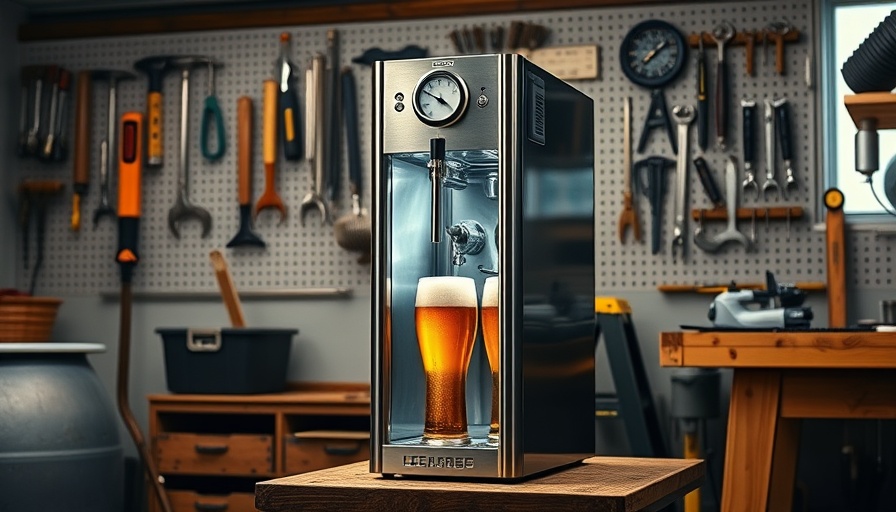
Transform Your Old Fridge into a Kegerator
Are you ready to elevate your home entertaining game without breaking the bank? Building your own DIY kegerator could be the answer. With a little elbow grease and some basic tools, you can turn an old refrigerator into the centerpiece of your gatherings. Not only will you impress your guests with fresh, cold beer on tap, but you'll also save money compared to buying individual cans and bottles.
Why Build a Kegerator?
Kegerators are not just about convenience; they are also an eco-friendly choice. Kegs reduce packaging waste, and beer stays fresher much longer. Imagine hosting a party without fretting over running to the store for more drinks or dealing with excess recycling. With a well-built kegerator, your drinks can be served quickly and efficiently, enhancing your hosting experience.
What You Need to Get Started
Your DIY kegerator project will require some essential equipment. First, you’ll need a reliable used refrigerator – check sites like Craigslist or Facebook Marketplace to snag a good deal. Ensure it has enough interior space for your beer and CO2 tank. Additionally, a kegerator conversion kit, CO2 tank, and kegs are necessary. Many brewing supply stores can provide you with these components, or you can find them online.
Step-by-Step Instructions for Building Your Kegerator
This project can typically be completed in under a day if you follow these general steps:
- Remove the Refrigerator Shelves: Clear out the shelves to make room for your kegs.
- Decide on CO2 Placement: Determine whether you want the CO2 tank inside or outside the fridge. Each option has its advantages.
- Drill the Faucet Hole: Use a 7/8" bi-metal hole saw to create a clean hole for the tap.
- Install the Kegerator Conversion Kit: Follow the kit instructions to connect the faucet, CO2 lines, and couplers.
- Test Your Setup: Once everything is in place, run a test to ensure that beer pours correctly and the system functions as desired.
By following these steps, you'll have a fully-functional kegerator that can keep everyone happy, whether you're hosting a casual barbecue or a football game viewing party.
Tips for an Efficient Kegerator
To maximize your kegerator's efficiency, make sure to maintain a consistent temperature — ideally between 34°F and 40°F for most beers. Additionally, it’s essential to keep the lines clean and correctly adjusted for optimal pouring. Using a drip tray can help prevent messes and clean-up hassle.
Counterarguments: Is a Kegerator Worth It?
While there are undeniable benefits to building a kegerator, some may question whether it's worth the time and cost. Critics might argue that buying pre-packaged drinks takes less effort. However, consider the long-term savings, as kegs often provide more beer for less money, plus the environmental benefits of reduced waste.
Your Perfect Beverage Companion
A kegerator can add fun and convenience to your home and is versatile enough for all sorts of beverages, from craft beer to homemade root beer for the kids. Having a tap at your disposal makes every meal, game night, or party uniquely special.
Get Started Today!
If you are excited about this DIY project, now is the perfect time to gather your materials and start building your kegerator. Not only will your guests be impressed, but you will also enjoy the benefits that come with making this personalized beverage dispenser. Enjoy craft beers or personalized drinks in the comfort of your home!


Write A Comment