 Add Row
  Add
Add 


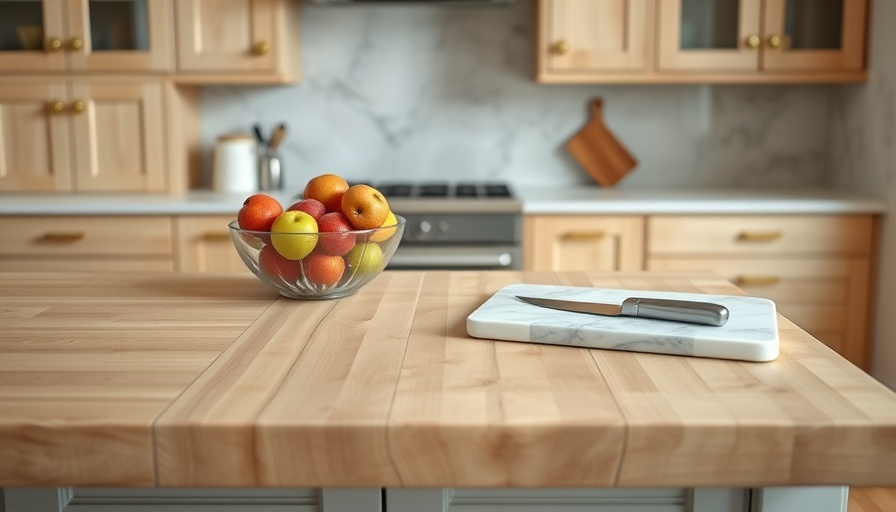
Discover the Joy of Crafting Your Own Butcher Block Countertop
Creating your own butcher block countertop can add a unique charm to your kitchen while providing a functional workspace. This DIY project not only helps you save money compared to purchasing a pre-made countertop but also allows you to personalize the design to fit your specific kitchen aesthetics. With the right materials, tools, and a little patience, anyone, even beginners, can embark on this rewarding journey.
Essential Tools Required for Your DIY Project
Before diving into this hands-on project, gather the necessary tools. Key equipment includes:
- Angle Grinder with Cutoff Wheel
- Miter Saw
- Table Saw
- Routers for edges and grooves
- Random Orbital Sander for finishing touches
Each tool serves a specific purpose, making your work more effective and efficient. Investing in quality tools can make a significant difference in both the process and the final outcome.
Choosing the Right Wood for Your Butcher Block
The type of wood you choose plays a critical role in durability and functionality. For example, hard maple is often recommended due to its dense nature, which resists gouging and dings, making it perfect for a butcher block countertop. This wood also features a tight grain, reducing porosity, which is vital for food safety.
When selecting lumber, opt for boards that are at least 1/8 to 1/4 inches thicker than your desired final product. This extra thickness accounts for the material you'll lose during sanding.
Step-by-Step Guide to Building Your Countertop
The project can be broken down into manageable steps. Here’s an overview:
- Cutting the Slats: Start by ripping the hard maple boards into 2-1/2 inch wide slats. Cut them slightly longer than needed to ensure a perfect fit when glued together.
- Gluing the Boards: Apply waterproof wood glue between the slats and clamp them together to secure a strong bond. Allow adequate drying time as specified by the glue manufacturer.
- Sanding: Once the glue has cured, it's time to sand the surface. Begin with a coarse grit and progressively move to finer sandpaper to achieve a smooth finish.
- Finishing Touches: Applying a food-safe beeswax finish not only enhances the beauty of the wood but also protects it from moisture and stains.
Practical Tips to Enhance Your Butcher Block Countertop
Consider incorporating unique design elements, such as edge profiles or custom stains, to make your countertop stand apart. You can also explore using different wood types to create beautiful patterns or inlays that can reflect your personal style.
Maintenance is also crucial. Regularly applying a food-safe finish will keep the wood in optimal condition and prolong its lifespan.
Environmental Benefits of DIY Projects
Taking on a DIY project like this not only allows for personal expression but also contributes positively to sustainability initiatives. By sourcing local timber and engaging in eco-friendly practices, you contribute to reducing carbon footprints, making responsible choices while enjoying the crafting experience.
Celebrating Your Accomplishment: The Final Reveal
Once finished, your butcher block countertop serves as a testament to your skills and creativity. Invite friends and family to showcase your work, which can also inspire others to tackle their own DIY challenges.
In today's busy world of mass production, handcrafting your kitchen centerpiece brings satisfaction and a sense of accomplishment that store-bought items simply cannot match.
Ready to Transform Your Kitchen? Let's Get Started!
Building a butcher block countertop is more than just a home improvement project; it’s an opportunity to learn a new skill, bond with family, and create something unique that will last for years to come. So gather your materials, prepare your tools, and unleash your creativity. Happy DIY-ing!


Write A Comment