 Add Row
  Add
Add 


Transform Your Garden with DIY Hypertufa Planters
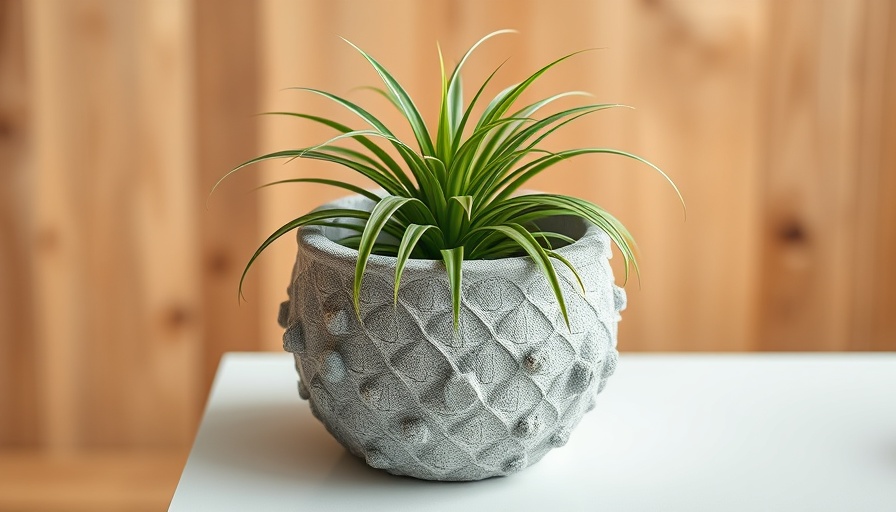
Creating a vibrant garden space doesn’t always have to involve extensive landscaping or pricey flower pots. With hypertufa planters, California homeowners can personalize their gardening with a DIY project that blends creativity, sustainability, and functionality. These unique planters made from a lightweight cement mixture allow for great design flexibility, giving your home garden an artistic flair.
What is Hypertufa?
Hypertufa is a mixture of Portland cement, perlite, and peat moss that mimics the look of natural stone while being significantly lighter and easier to work with. Unlike traditional concrete, hypertufa has a porous structure that better retains moisture and supports healthy plant growth. This makes it an excellent option for California’s varied climate, allowing gardeners to keep their plants thriving.
Gathering Tools and Materials
To embark on this hypertufa planter project, you will need some fundamental tools and materials:
- Cement mixing trough
- Plastic tub for soaking
- Screwdriver for creating drainage holes
- Small shovel and measuring containers
- Wire brush for finishing touches
- Rubber gloves for safety
- Water, peat moss, perlite, and Portland cement
Investing in these tools not only enriches your gardening experience but also provides a valuable skill that you can apply to other home projects.
Step-by-Step Guide: Crafting Your Hypertufa Planter
Let’s break down the simple steps you’ll follow to create your own hypertufa planters:
- Select Your Mold: Choose either a smooth mold for a polished finish or a textured one for a rustic appearance. Using a plastic tub is a great option.
- Mix the Ingredients: Sift together two quarts each of perlite, peat moss, and Portland cement. Then mix these dry components thoroughly to ensure uniformity.
- Add Water Gradually: Slowly incorporate water until the mix resembles thick brownie batter. This consistency is crucial for proper shaping.
- Shape and Cure: Fill your mold and allow it to cure over several days. The curing stage is critical; it allows the hypertufa to reach its full strength.
Following these steps will result in unique, durable planters that are lightweight and ideal for your favorite plants.
The Creative Freedom of Hypertufa
One of the most appealing aspects of hypertufa is its versatility. From wall planters to garden sculptures, the possibilities are endless. Californians can get creative by incorporating colors, textures, and even mixed media elements to enhance their garden aesthetics.
Why DIY with Hypertufa?
Choosing to make hypertufa planters offers several benefits:
- Cost-Effective: With just $10 - $60, you can create multiple planters without breaking the bank.
- Environmentally Friendly: Hypertufa is made from beginner-friendly materials and promotes sustainable gardening practices.
- Skill Development: This project provides an opportunity to hone DIY skills that can be applied to future home and garden projects.
Inspiration and Community Connection
Engaging in DIY projects such as hypertufa planters allows homeowners to forge a connection with their community. Whether it’s sharing your completed planters on social media, participating in local markets, or joining gardening clubs, you become part of a larger movement focused on enhancing home environments.
Embrace the Joy of Gardening
As you dive into the world of hypertufa and experience the joy of gardening, remember that these planters are not just functional; they are a reflection of personal creativity and commitment to nurturing a green space.
Ready to create your own hypertufa planters? Explore local gardening stores for materials or join community workshops that promote DIY gardening projects. It’s not just about planting; it’s about growing your passion for gardening, one planter at a time!


Write A Comment