 Add Row
  Add
Add 


Turning Canning Jars into Whimsical Art: A DIY Journey
In a world marked by ever-evolving interior design trends, nostalgia often plays a crucial role in shaping our creative pursuits. For many, the humble canning jar embodies that nostalgia, serving as a vessel for creativity. This was precisely the case when I stumbled upon a forgotten DIY project from over a decade ago—transforming a client’s vintage shelving unit with painted mason jars into a quirky art installation. But would I take on this project again? Let's dive into this colorful journey.
Cubicle Blues: The Design Dilemma
The challenge began with a stunning but impractical shelving unit that seemed perfect in theory yet posed a real creative conundrum. How could we fill its whimsical cubbies without resorting to clutter or expense? After some brainstorming, we realized that the charm of canning jars could hold the solution. With a personal connection to these jars, thanks to childhood memories filled with canning and creativity, the choice felt natural.
Colorful Inspirations: Why Mason Jars?
Why mason jars, you might ask? At first glance, they might seem less than exciting, yet they bring a unique aesthetic to the home. Searching for plastic containers or expensive art supply jars left me uninspired. After considering alternatives like colorful blocks or wrapped boxes, I realized they wouldn’t capture the spirit we wanted. Mason jars were not just functional; they evoked personal memories and allowed us to focus on creativity without exceeding the budget.
Planning and Precision: The Art of Measurement
With the jars selected, Orlando and I got down to business with a tape measure. It was essential to take precise measurements for each cubicle, ensuring that our painted jars would fit perfectly within the shelving unit. This planning stage, filled with excitement and anticipation, set us up for a successful DIY endeavor.
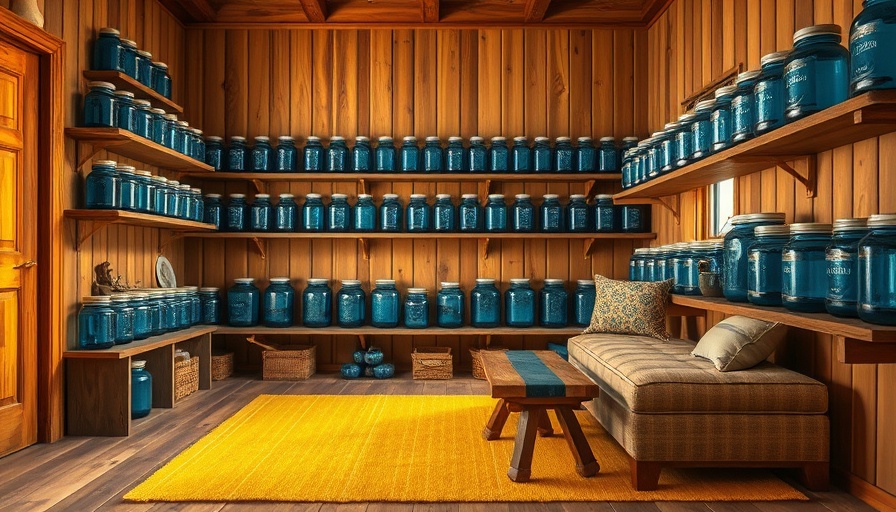
Bringing the Vision to Life: Painting the Jars
The real magic happened when we painted the jars. Using various shades of blue mixed with white, we achieved an ombre effect that added vibrancy and depth to the design. This part of the process was filled with laughter and nostalgia, making it more than just a simple DIY project— it was an opportunity to reminisce about the past.
Reflecting on the Project: Pros and Cons
Looking back now, I find it hard to say whether the project was more art or gimmick. While it certainly brought color and charm to Rachna’s playroom, one has to consider its transience. If in the future they choose to change their decor, what would happen to our colorful creation? This poses an essential question for anyone embarking on similar DIY adventures: how do we create beauty that lasts?
Getting Inspired: DIY Projects for Everyone
For homeowners and potential buyers in California’s diverse regions, this project showcases how creativity can turn the ordinary into extraordinary. With limited funds and a little resourcefulness, you too can transform your living spaces. Here are a few takeaways to spark your next project:
- Incorporate Personal Memories: Choose materials that evoke positive emotions.
- Experiment with Colors: A fresh coat of paint can breathe new life into familiar items.
- Measure Twice, Cut Once: Planning ensures your projects are successful and fit seamlessly within your design.
Final Thoughts: The Beauty in Community and Creativity
At its core, this project is a celebration of community, resourcefulness, and individuality. Each DIY endeavor has the potential to tell a story, connect with the past, and inspire future creativity. So next time you think about refreshing your space, consider your own memories and experiences—they might just lead you to unexpected and delightful designs.
If you’re inspired to take on your own DIY projects, remember that creativity knows no bounds. Engage with your local community to find resources, join workshops, or share your own stories. The possibilities are endless, and together we can celebrate the unique character of home through the art of DIY!


Write A Comment