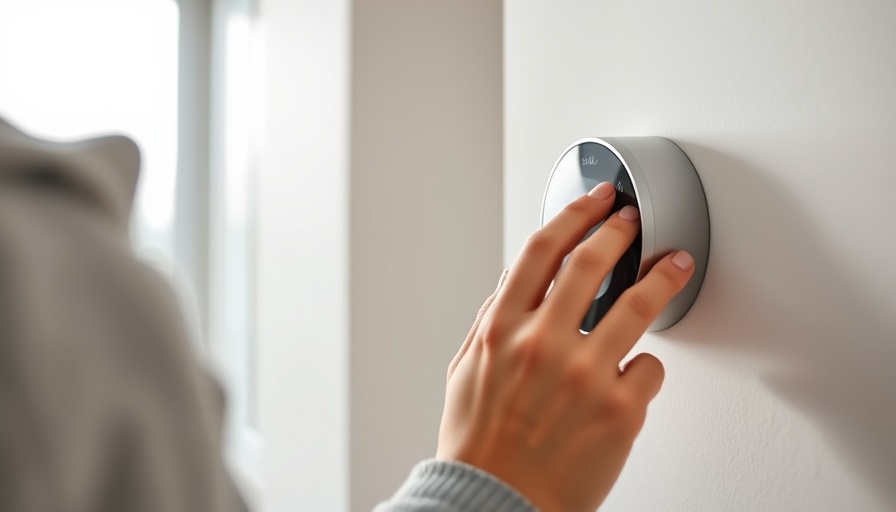
Understanding Heat Pump Thermostat Wiring: A Guide for California Homeowners
With the rising temperatures in California and a growing focus on energy efficiency, understanding heat pump thermostat wiring has become an essential DIY skill for homeowners. Many have realized that upgrading their thermostat can significantly enhance the performance of their heating and cooling systems, resulting in more efficient energy usage and lower utility bills. But fear not, wiring your heat pump thermostat is more manageable than you might think!
Why Upgrade Your Thermostat?
Replacing an old thermostat can improve both your home’s comfort and your energy bills. Traditional thermostats often lack the advanced features of modern models, leading to inefficient heating and cooling patterns. For California residents, where both air conditioning and heating can be necessary, having a responsive thermostat is critical. Micah Sherman, a seasoned HVAC technician, points out that a new thermostat can allow for better scheduling and even remote control access via smartphone. This added convenience means that you'll not only save savings but also gain a greater degree of control over your home climate.
Step-by-Step Instructions to Wire Your Heat Pump Thermostat
Before you begin the wiring process, make sure to gather the required tools and materials: a marker for labeling, a non-contact voltage tester, screwdrivers, wire strippers, electrical tape, and your new thermostat. Follow these steps:
- Turn Off the Power: Ensure your safety by switching off the power at the disconnect switch or at the circuit breaker.
- Verify the Wiring: Remove the faceplate from your existing thermostat and use a non-contact voltage tester to ensure no power is running through it. Document the number of wires you have.
- Remove the Old Thermostat: Detach the wires from the terminal block, labeling them for your records.
- Attach the New Thermostat: Thread the wires through the new thermostat base and attach them according to your manual’s instructions.
- Final Steps: Double-check all connections, place the faceplate onto your new thermostat, and restore the power.
Tools and Tips for Success
Having the right tools is paramount. A non-contact voltage tester is crucial to ensure safety when working with electrical systems. Proper labeling of wires can prevent confusion and mistakes. Remember, take your time and follow all provided instructions for your specific thermostat model.
Common Misconceptions About Thermostat Wiring
Many people think wiring a thermostat is only for professionals. The truth is, with a little knowledge and preparation, this is a task that most homeowners can handle. It's important to contradict the myth that only licensed electricians can do electrical work; many DIY enthusiasts have successfully replaced their thermostats with remarkable results.
Building a Future of Energy Efficiency
As California looks towards a future of energy-saving initiatives, learning how to wire your heat pump thermostat is an invaluable skill. By making this upgrade now, homeowners can not only save on immediate utility costs but also contribute positively to the environment. The future of home energy efficiency begins at home, and your thermostat is where it all starts.
Conclusion: Take Action Now!
Are you ready to improve your home’s heating and cooling efficiency? Wiring a heat pump thermostat is an achievable DIY project that can lead to immense benefits. Don't wait—grab your tools and dive into this weekend project! Your future self—and your energy bill—will thank you.
 Add Row
  Add
Add 


 Add Row
  Add
Add 

Write A Comment